Creating a Family Photo Wall That Lasts: A Timeless Guide for Cherished Memories
Family photo walls are far more than a stylish décor trend—they’re a living gallery of love, milestones, laughter, and connection. In a world dominated by digital snapshots, bringing your favorite moments into your everyday environment can keep memories fresh for your entire family. For mothers and families busy balancing life in Hampton Roads, Virginia Beach, Moyock, and the Outer Banks, creating a beautiful, durable family photo wall is both a gift and a legacy.
This comprehensive guide draws on both artistic vision and practical know-how to ensure your family photo wall is as meaningful as it is stunning. From choosing the right space to selecting heirloom-quality prints and achieving a polished layout, you’ll discover every secret to a photo display that will make you smile every single day.
Creating a Family Photo Wall That Lasts
Why Create a Family Photo Wall?
Choosing the Perfect Space in Your Home
Curating Photographs: Building Your Family Story
Watch this helpful video on creative ways to curate and display family photos
The Power of Professional Photography
Selecting Print Styles and Materials for Longevity
Frame Selection: Marrying Protection and Style
Planning the Layout: From Classic Grids to Eclectic Displays
Step-by-Step: Installing a Lasting Family Photo Wall
Caring for Your Photographs and Wall Display
Why Create a Family Photo Wall?
In an age of smartphones and laptops brimming with images, it’s easy to let pictures live permanently inside devices. Creating a family photo wall is about honoring and anchoring your family’s most meaningful moments.
Photo walls:
Remind children daily of their place in a loving legacy
Reconnect adults with joyful milestones
Provide an instant conversation starter for guests
Serve as timeless home décor that never goes out of style
For busy families in communities like Moyock, Chesapeake, or Virginia Beach, a thoughtfully arranged gallery is a simple, stress-free way to regularly celebrate connection.
Choosing the Perfect Space in Your Home
Location is everything when planning your photo gallery wall. Here are some actionable ideas, each tailored to make your gallery a true centerpiece:
High-Traffic Areas
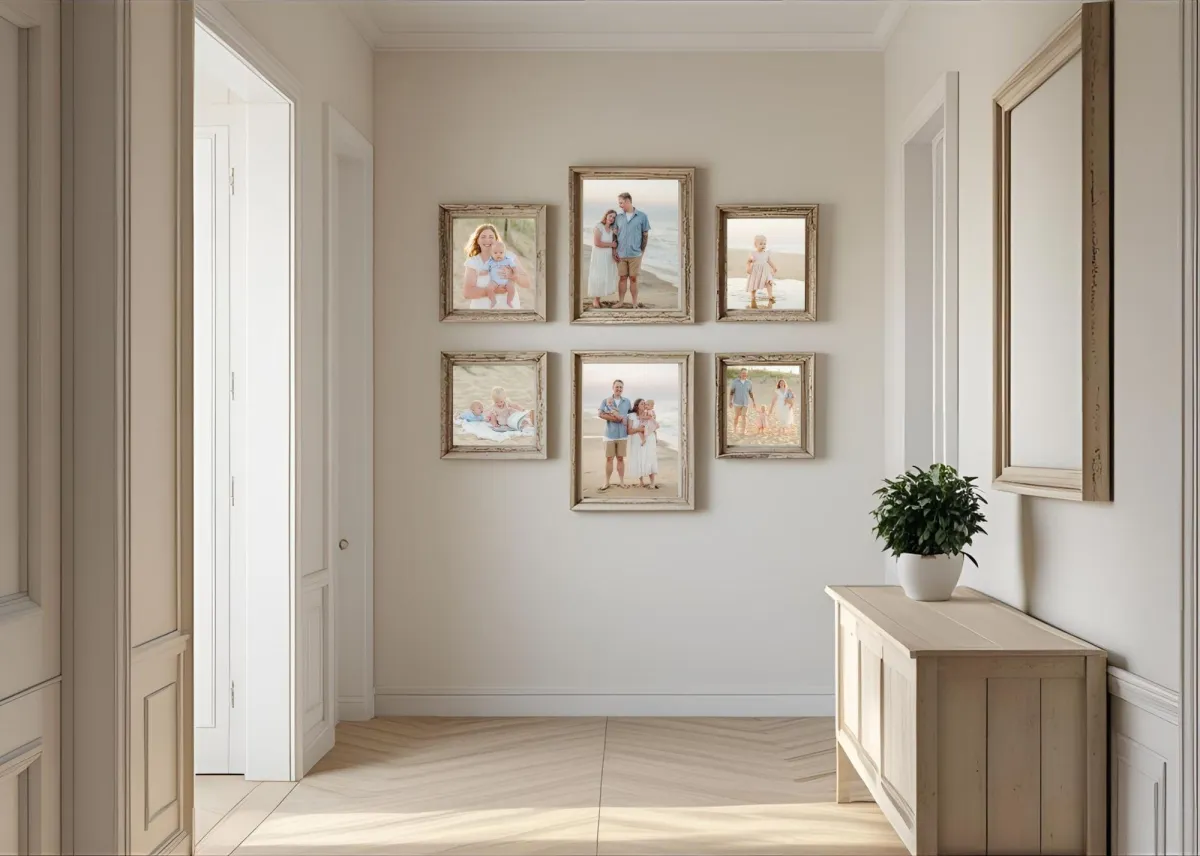
Entryways and Hallways: Greet family and guests with warmth as soon as they step inside.
Living Rooms: Transform a main gathering area into a conversation piece brimming with personal meaning.
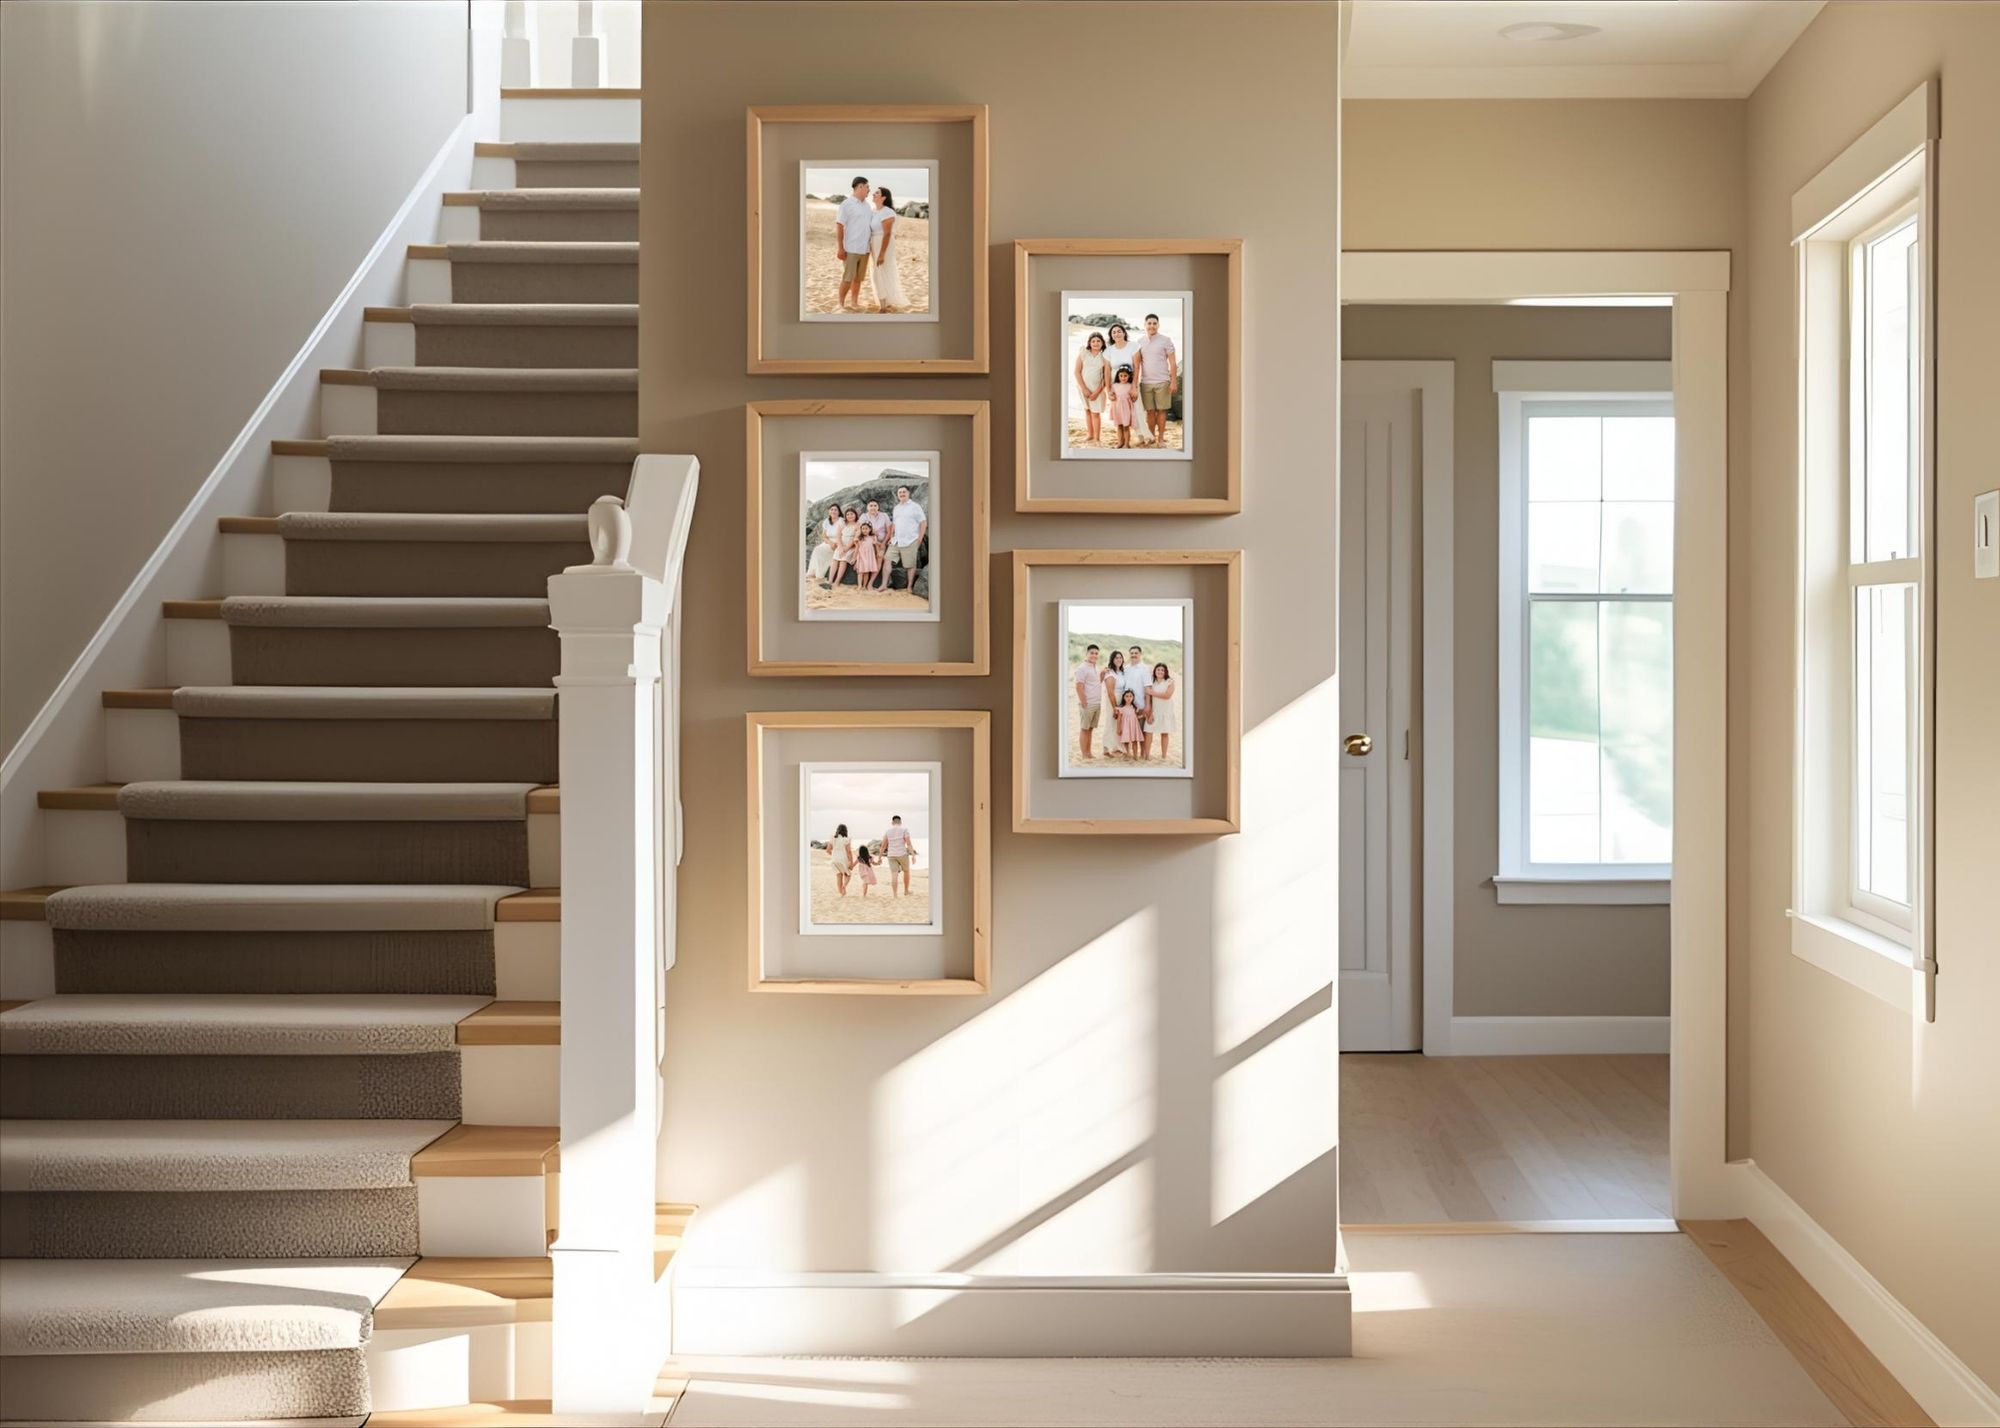
Staircases: Vertical wall space beside stairs offers the perfect canvas for a cascading gallery.
Intimate Settings
Bedrooms: Reminders of love and accomplishment bolster comfort and confidence where your family starts and ends their day.
Nurseries & Kids’ Rooms: Build pride and security by displaying joyful childhood moments.
Tips to Consider:
Avoid direct sunlight to protect photographs from fading.
Consider the scale of your space—sprawling walls suit large mixed galleries, while tight alcoves call for a focused arrangement.
For open-concept homes, a feature wall behind a sofa or dining table creates an eye-catching focal point.

Curating Photographs: Building Your Family Story
A memorable gallery wall tells your unique family story—one milestone, laugh, and season at a time. Resist the temptation to include only posed, formal “best” shots; embrace the candid, silly, and real.
Curating for Impact
Mix Eras & Ages: Let your gallery show growth—include baby portraits, graduation pictures, holidays, and everyday moments.
Feature Connections: Highlight interaction—parent and child cuddles, siblings playing, family pets in the fun.
Seasonal Variety: Use photos spanning all seasons and special events for a welcoming, dynamic gallery.
Black & White vs. Color: Decide whether you want a cohesive monochrome palette or a lively, colorful display.
Include Artifacts: For extra sentiment, intermingle art or meaningful mementos—handwritten notes, invitations, or even pressed flowers.
Watch this helpful video on creative ways to curate and display family photos
The Power of Professional Photography
Professional portraits are the linchpin of any lasting photo wall—they’re sharper, thoughtfully composed, and designed to stand the test of time. Full-service photography studios offer distinct advantages:
Stress-Free Experience: Moms in Hampton Roads, Chesapeake, and Moyock know that wardrobe styling, hair, and makeup allow you to relax for genuine captures.
Cohesive Editing: A photographer’s eye ensures your gallery photos share a harmonious style.
Heirloom-Quality Prints: Professional labs use archival materials that elevate images from basic décor to true family heirlooms.
Photography Tip: When planning a wall, ask your photographer about session packages with custom wall art or print consulting. Collaboration ensures your layout, color palette, and mounting style are considered from the very beginning.
Selecting Print Styles and Materials for Longevity
Home printers and standard commercial labs often use quick-fade inks and low-grade paper. For a photo wall that lasts for generations in coastal climates (like Virginia Beach or the Outer Banks), choose materials with true heirloom quality.
Best Print Options
Fine Art Paper: Won’t yellow, dull, or warp—preserves sharpness and vibrancy for decades.
Canvas Wraps: Offers museum-style elegance; archival coatings protect against dust and sunlight.
Acrylic & Metal Prints: Modern, luminous, and exceptionally durable; ideal for humid regions or kid-touched spaces.
Must-Know Tips
Always request UV-protected and acid-free prints.
Inquire about professional mounting to avoid warping.
When in doubt, ask your photographer if prints are archival-grade.
Frame Selection: Marrying Protection and Style
The right frame does more than beautify—it preserves. Selecting frames as thoughtfully as the images themselves ensures your wall remains timeless.
Styling Your Wall
Uniform Frames: A streamlined, minimalist look that unifies a variety of images.
Mix & Match: Blend different frame finishes and sizes for a curated, lived-in feel.
Matted Frames: Add sophistication and allow you to play with negative space and photo scale.
Protection Factors
Glazing: Opt for UV-resistant glass or museum acrylic to filter out harmful rays.
Solid Construction: Choose real wood or metal for frames—avoid chipboard or plastic, which may warp in coastal humidity.
Dust Seals: Ask about dust-proof backing to keep contaminants at bay.
Pro Tip: Always use archival mats and backings—standard papers can discolor prints over time.
Planning the Layout: From Classic Grids to Eclectic Displays
Your arrangement sets the mood. A classic, ordered layout communicates refinement; an eclectic, organically growing wall tells a story of adventure and love.
Popular Layout Styles
Grid: Equal frames lined precisely—best for symmetry lovers.
Salons: Larger anchor pieces surrounded by smaller, creatively arranged images.
Linear: A sleek, single-row display adds drama to hallways or staircases.
Organic: A playful, evolving layout mixing different frame shapes and objects.
Layout Planning Steps
Choose your anchor. Begin with one or two key images as anchors.
Map it out. Use paper templates or painter’s tape to outline frames on the wall before hanging anything.
Balance sizes and colors. Distribute larger or standout images evenly so no section feels too heavy.
Maintain spacing. Standard spacing is 2-3 inches between frames for a curated look.
Step-by-Step: Installing a Lasting Family Photo Wall
Precise installation ensures your photo wall remains a cherished, worry-free feature for years.
Step 1: Gather Your Tools
Quality wall anchors and screws
Level and measuring tape
Painter’s tape or paper templates
Pencil and eraser
Hammer and nails, if appropriate for your wall type
Step 2: Test Your Layout
Lay all framed photos on the floor and arrange them according to your plan. Stand back and adjust as needed.
Step 3: Mark the Wall
Transfer your layout to the wall using painter’s tape or pre-sized templates. Mark lightweight pencil dots where hangers will go.
Step 4: Hang Securely
Use a level to keep rows perfectly aligned. Always use the right hardware—masonry anchors for brick, heavy-duty hooks for drywall.
Step 5: Final Touches
Step back to review balance and spacing. Adjust for perfect alignment. Wipe frames clean of fingerprints.
Caring for Your Photographs and Wall Display
Heirloom prints and frames need care to stay pristine for generations.
Climate Control
Keep your gallery away from direct sunlight, HVAC vents, or damp areas.
Try to maintain consistent room temperature and humidity—especially important near the Atlantic coast.
Cleaning Tips
Dust frames with a soft, dry microfiber cloth.
Gently wipe glass or acrylic with a damp cloth—avoid ammonia-based cleaners.
Never spray cleaner directly on artwork or mats.
Regular Check-Ups
Inspect hangers and hardware yearly to ensure stability.
Rotate photos if you notice any color shifting or fading.
Keeping Your Gallery Fresh: Updating With New Memories
A living gallery should grow as your family does! Updating your photo wall keeps memories alive and your décor dynamic.
Schedule Annual Updates
Choose a date—family birthdays, holidays, or session anniversaries—to add new images or swap out older ones.
Add Seasonal Layers
Slip smaller seasonal prints into existing frames for a quick refresh.
Incorporate artwork from children or special event memorabilia.
Preserve Retired Prints
Store “retired” favorites safely in an archival box or album, ensuring no memory is lost.
Frequently Asked Questions
Q: Do I have to invest in professional framing and printing? A: While professional services offer the best longevity and finish, even budget-friendly prints can look beautiful with strategic matting and high-quality off-the-shelf frames. For your most treasured images, heirloom printing and framing are truly worth it.
Q: How many photos should I use? A: There’s no rule! From a trio to dozens, the best number is what tells your family’s story. Start small if you’re unsure—your wall can always grow over time.
Q: I have young children—how do I keep my photo wall safe? A: Choose sturdy frames and secure mounting hardware. For high-traffic or playroom zones, acrylic-faced frames are shatter-resistant and child-friendly.
Q: I love photos, but my style is modern. What’s best? A: Sleek metal or acrylic prints in clean grid layouts offer a contemporary twist. Pair with monochrome or neutral-tone images for a minimalist, upscale look.
Conclusion: Transforming Walls Into Legacies
A thoughtfully designed, professionally crafted family photo wall is much more than decoration—it’s a source of daily joy, pride, and togetherness. Whether you’re welcoming guests in Moyock, wrangling little ones in Chesapeake, or soaking in sunset views near the Outer Banks, your family gallery will keep every cherished moment within reach.
Bring intention, artistry, and a touch of luxury to your home. Preserve your memories beautifully, and let your family’s legacy shine for generations to come.
Ready to craft your own wall of memories? Working with a full-service Hampton Roads photographer like me makes it easy. I will help you narrow down your favorites and choose frames and sizes that compliment your home. Reach out today and we can chat about the process!


